How to Edit an Asset
1. When opening the "Components editor" we can see that Qimera separates the asset into sections such as:
- "Texts"
- "Meshes"
- "Scene components"

2. We display some of the texts and change the data. (In this case "info 1")
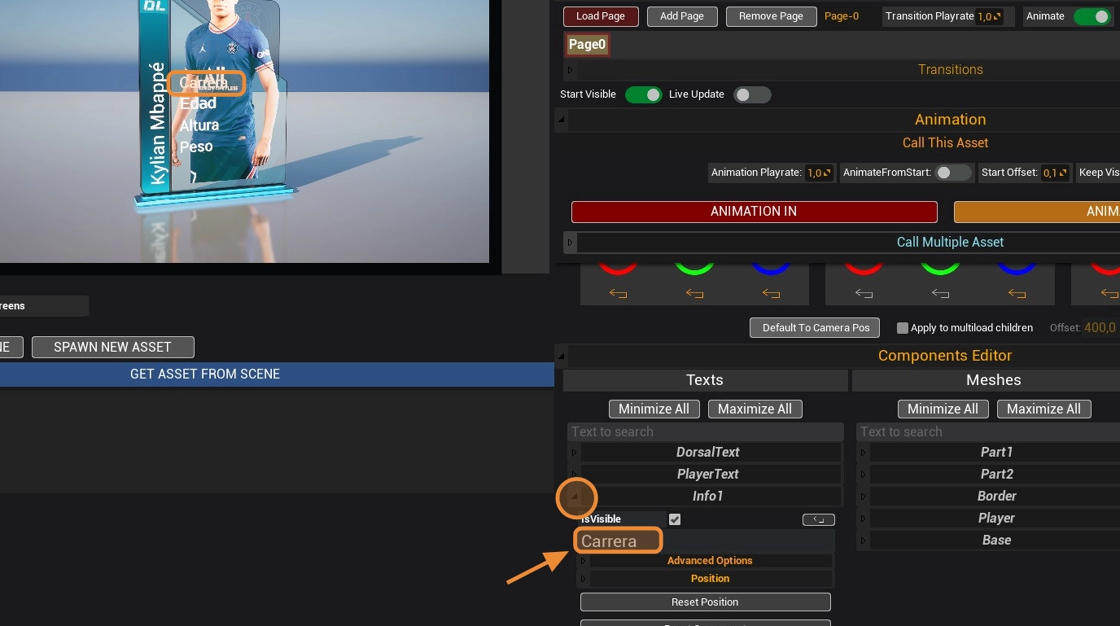
3. If we do not see the changes in real time (viewport) we have to switch on the "Live update" and finally click on the "Load page" to load those new values.

4. We can now see the change we made ("Carrera" to "RACE")
If we don't see all the components, there is a bar that we can access.

5. In this case, if we want to change the player's image, we click on it.

6. It will highlight the component name to speed things up, and there we'll display the options.
We'll find the "Material slot" where that texture is stored. (Material 0)

7. Once we select the corresponding material slot, we can access the texture.
There are two ways to change our images/textures.
-
Searching in the "Content Browser"
-
"Typing the file name"
8. 1. Click on "Content Browser" to search the image bank that we have saved in our project.

9. Press [[F11 ]]to go to the Unreal editor and select the image. (The image will be inside the folder where we imported it).

10. Click assign (arrow) to place the texture.

11. 2. "Typing the file name" inside the "Search Assets" box.

12. We put the name of the image file that is saved in our project and select it (in this case "Messi").

13. We deploy the "Position" module and adjust the location (in this case the X axis).

14. We can add pages within an asset to generate different instances.
Click on "Add Page".

15. We select our new page "Page 1" and load it in "Load Page".
Now you can edit the page exactly as we did in [[Step 5]].

16. Just like text and images, we can also change the color of our meshes.
- Click on the mesh you want to modify.
- Open the "Material Options" panel.
- Choose the corresponding material slot.
- Click on the "Value" color field.
- Find the desired color in the "Color Picker".
- Click "OK" to accept the changes.

17. We can activate/deactivate different types of transitions for these pages by displaying the "Transitions" module.

18. To return to the previous page, simply click on the desired page again and Click on "Load Page"
